Mar 01 2022
Reverse Zoology
Update March, 2022: Ellie and I will be participating in the Bright Moments Berlin event in April! Minting will be done in-person and via surrogate. If you’re able to, come out and support us!
More info at: brightmoments.io/cryptoberlin

A few months ago I was introduced to Ellie Pritts, an outstanding artist out of L.A. who is popular in the NFT and digital art community. She was seeking a technical partner to work on a project, and I needed someone who can navigate art as a business. Our goals and personalities lined up pretty well, so, we decided to partner on what has now become the Reverse Zoology project.
It’s been a few months since we first chatted, and a lot of progress has been made. My goal here is to talk through some technical details, how the art works, and the numerous pitfalls I encountered along the way. I imagine there is more to discuss than can be done in a single post, but I have to begin somewhere.
An Overview
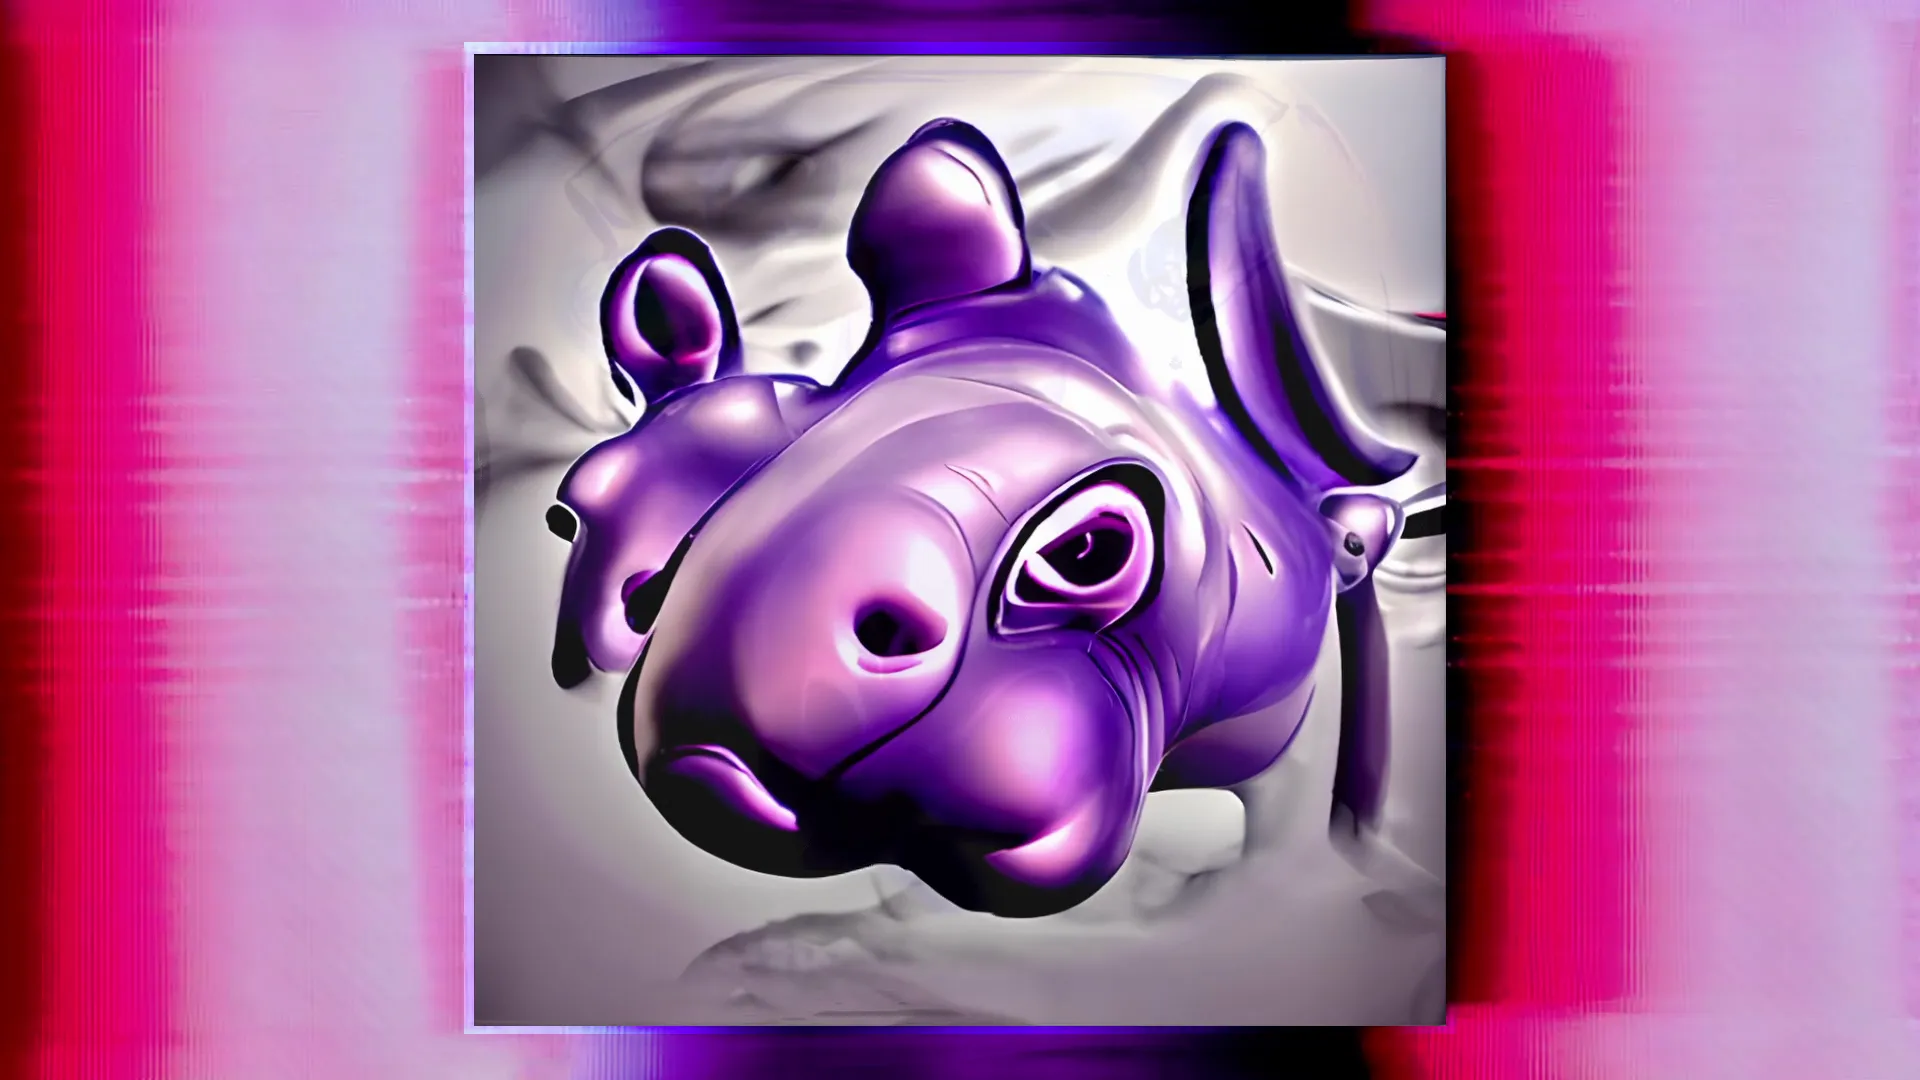
Reverse Zoology is an evolution of frogeforms with each piece created by the same process, parameterized.
For a single artwork, it looks something like this:
- Select 3 source images from a collection provided by Ellie
- Visually morph between the images, slowly changing
- Warp the outcome from step 2, making it wavy or distorted
- Composite the warped video from step 3 onto a background video
Ellie was responsible for generating the source images (Step 1) using a complex, psychedelic analog process, GANs, and much more! But that’s beyond the scope of my work and you can read about it in this Twitter thread.
Morphing
To visually morph between the images, I attempt to replicate an effect known as a Morph Cut or Smooth Cut.
The Morph Cut is a video transition effect that comes as a stock effect in many video editing softwares, such as Adobe Premier Pro and DaVinci Resolve. It is typically used to remove small sections of interviews, for example between unwanted pauses or stutter. In Adobe Premier Pro, according to their documentation, this is achieved using a combination of “face tracking and optical flow interpolation to create a seamless transition” between sections of video. DaVinci Resolve takes a similar approach, using optical flow processing, to perform the morphing effect. This transition becomes interesting when stretching it over the recommended range, of a few frames, to something much longer, like 10 or more seconds.

But how do these effects actually work? To answer that, we first need to look at a video morphing effect. My favorite use of morphing, and one of the earliest, come the amazing sequence at the end of Michael Jackson’s Black or White music video. See it happen around the 5:27 mark.
To achieve the face morphing effect, a transformation between two faces is performed where important features (eyes, nose, mouth, etc.) are moved and stretched from one person to the other. Next, the colors of individual pixels must be mixed to seamlessly transition over the duration of the effect.
A Custom Morphing Effect
This is where optical flow processing comes into play. Optical flow is a description of the motion of high-level features between two frames of video. For example, imagine a video of a basketball. The optical flow between two consecutive frames should tell us the ball is moving down while the background is static. Maybe a bird is somewhere in the shot, and that has it’s own motion. These are all high-level features, not individual pixels or edges. Using an optical flow algorithm should allow me to predict the motion of things between two frames of video, or, if I feed it two of Ellie’s GAN animals, the optical flow between the two may yield some interesting results. The hope is mapping visually similar features and morphing it in an interesting way.
Luckily for me, OpenCV has a handful of (mostly) out-of-the-box optical flow processing algorithms. The output of these algorithms is a vector field, telling me where the algorithms think regions of the first image move to line up on the second image.
The morphing effect now looks something like this:
- Get two source images,
AandB - Calculate the optical flow fields
- Flow
AB= imageA→ imageB - Flow
BA= imageB→ imageA
- Flow
- For every pixel in image
A- Move it based on flow
AB - Change the color, mixing between images
AandB
- Move it based on flow
- Repeat for every pixel in image
B, using flowBA
So... what does that look like?

Awesome! It’s not the same as Premier Pro but its unique and I can parameterize the effect to fit the content.
Warping
Now that morphing is out of the way, the next step is to warp the video, starting by defining warping. Warping is a distortion effect on a video. Something like the effect of ripples of water or of looking through a thick piece of glass. It means the light coming into my eyes isn’t traveling a straight path, its bent, bounced, blocked along the way. So, why does that happen, in the case of thick, abnormal glass
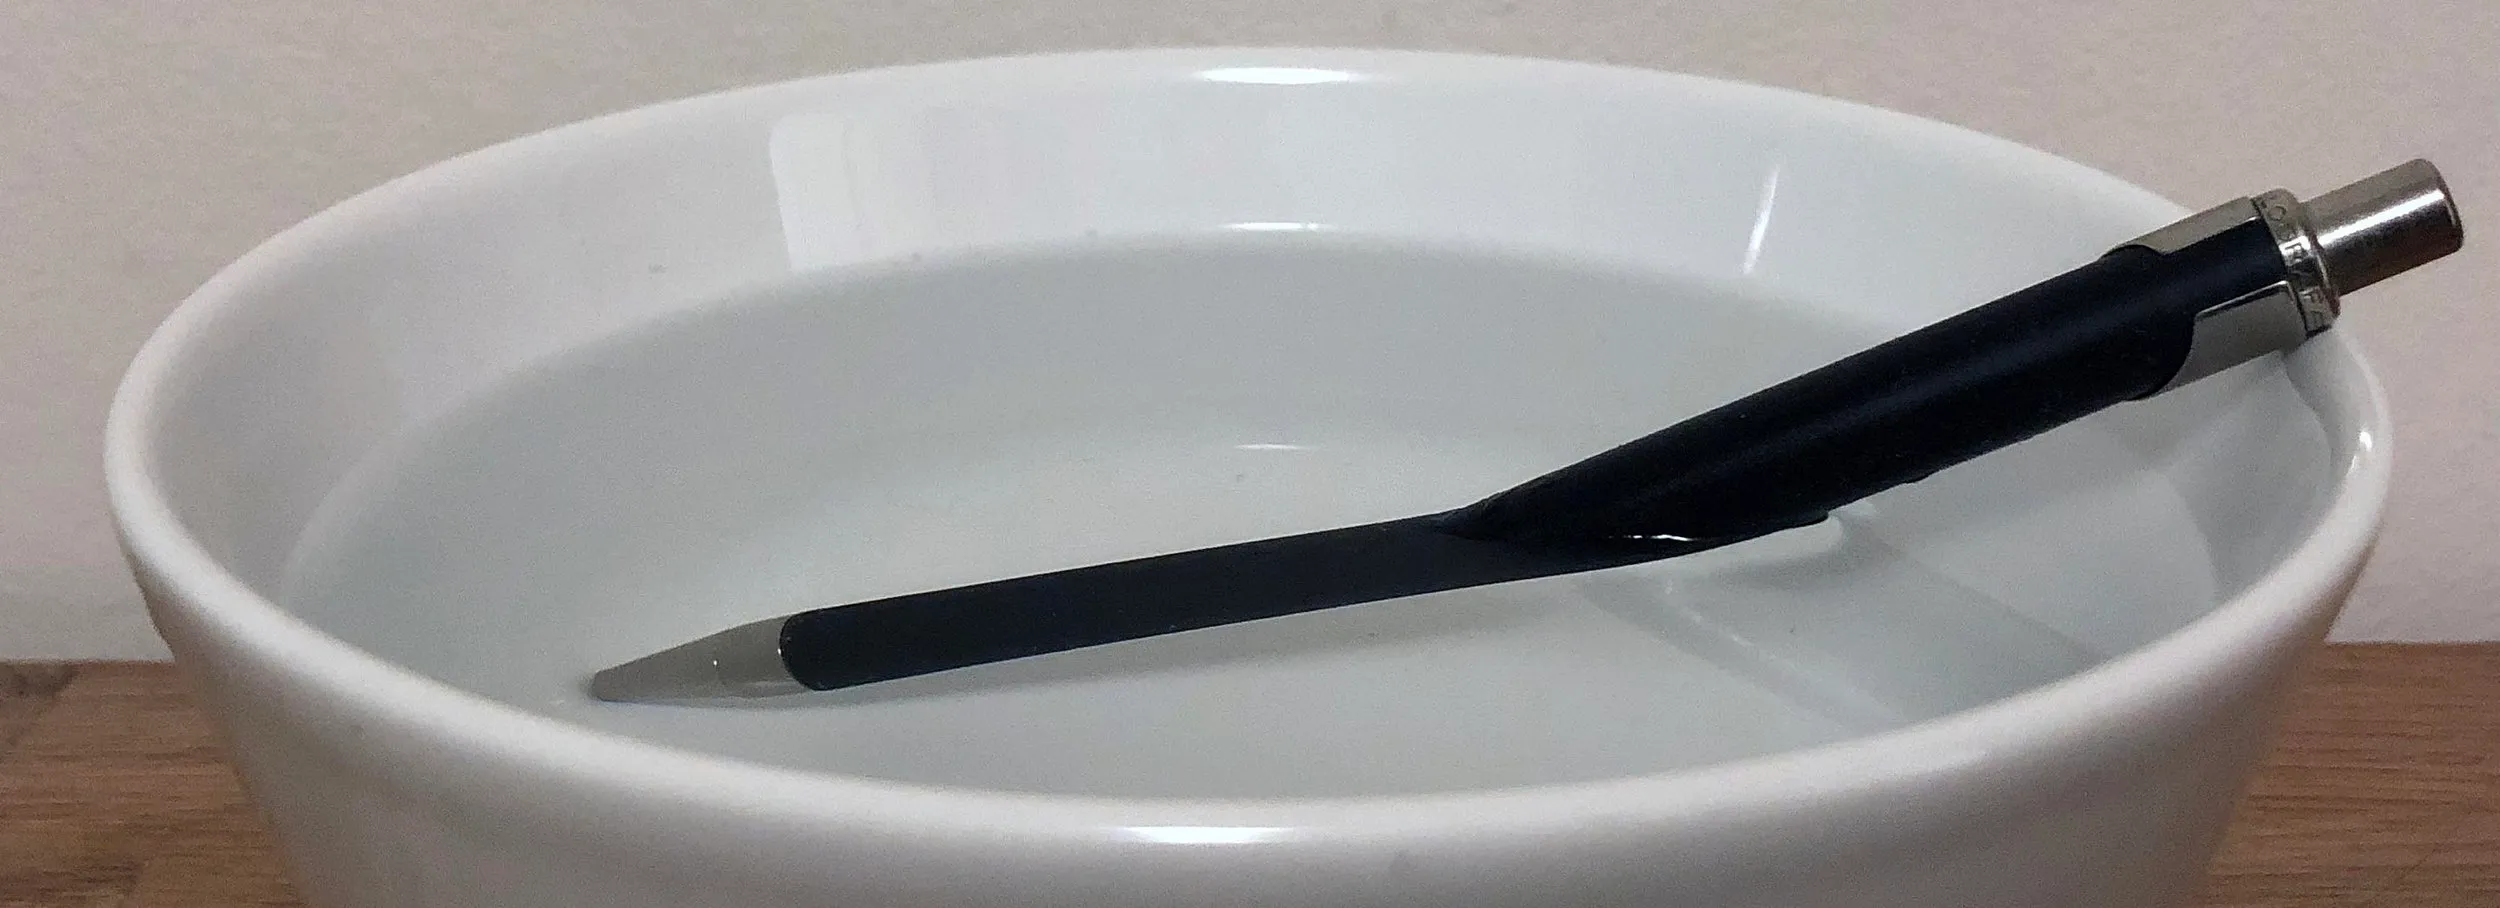
Light refracts. If a ray of light travels through a medium of different density or composition as air, it will not travel a straight path. That’s why a straw or pen looks weird in a glass of water, like the image below.

Water causes refraction in what we see because of the physics of light. It follows well-known rules, and, more importantly, it follows well documented rules. Rules that computer graphics folk have already figured out and implemented - meaning I can simulate light refraction without having to reinvent too much.
So let’s describe a system for warping an image. We have:
- a coordinate system. X is left-right, Y is up-down, Z is in-out
- a camera, somewhere on the Z axis, looking in
- an image sitting on the XY plane, looking out to the camera
- every pixel of my screen is mapped 1:1 to a pixel on the image
That’s easy, I am displaying an image without modification. But now, let’s add a glass material. This will be a simple differentiable height map, meaning I can get the height of the glass and its normal, i.e., the orientation of the surface, by specifying an X and Y coordinate.
Now, updating the warping system from below, we must:
- calculate how far a ray of light travels before it hits the glass
- find the angle between the ray of light and the surface of the glass
- use Snell’s law to determine the angle of refraction based on the properties of the glass and the air
- measure how long the ray of light will travel, in its new direction, before hitting the image
- determine the pixel which is hit by the refracted ray of light
Now we have a physically based warping effect!

Putting it all Together
I will cover this section in more detail in a follow up post. Feel free to contact me if there is something you want me to discuss or detail!
Tools, Languages, and Frameworks
I chose to develop the main processing application in Rust. I wanted a performant language with fine-grained control over parallel programming, which excluded Python, Javascript, and Ruby. Not only that, but I also needed access to many low-level libraries and APIs, opting not to use a JVM language. Rust is fun and I find C++ to be verbose and dangerous.
For managing dependencies, the Nix package manager seemed like a great fit. I’m writing code on my Mac and need to have my partner’s laptop working without issue. Installing OpenCV, GStreamer, Rust, etc. on a phone call was a non-option. But a simple git clone && nix-shell could work. I did have some issues making the main codebase function on both Mac and Linux, and I don’t know if I’ll ever figure that out. Nix is simply not friendly when it comes to graphics applications.
For optical flow processing, the heavy lifting is done by OpenCV. For high-performance morphing, warping, and compositing, I wrote OpenCL kernels. I started the project writing OpenGL shaders but realized this isn’t ideal. I don’t need any OpenGL context since I will be writing compute shaders, I’m essentially bastardizing the framework for my use case. OpenCL is smoother sailing.
For the UI, I decided on Nannou and Conrod. This was a mistake, but I’m living with it. Nannou is a good project, but not well suited for building UIs that are decoupled from some underlying computation. What makes it even more difficult the Conrod project - it is not maintained and a headache to use. If I could rewrite everything from scratch, I would stick to a client-server model, possibly communicating over TCP or HTTP.
Closing Remarks
Overall, this has been one of the biggest projects I’ve embarked on. I made numerous mistakes and learned many hard lessons. It is the single biggest Rust project I’ve worked on, bumping against many rough edges of the language. I have to say, I’m a Rust evangelist now. And a Nix evangelist too.
The next few topics I think I’ll cover are:
- Glass warping, in detail, with some actual code
- OpenCL kernels and performance considerations
- My GStreamer based video frame grabber
- Thoughts on using Rust, OpenCV, OpenCL, and Nix together to create a (mostly) cross-os development environment